When it comes to creating images with AI, you may not immediately consider the importance of camera positioning. However, the angle and distance from which you “take” your shot can have a big impact on the composition, feeling, and story of your art, just like they do in traditional photography and filmmaking. If you learn how to use camera positions in AI image generation, you’ll be able to turn easy prompts into beautiful visual stories that your audience will connect with.
How to Make Use of Camera Angles and Positions
Using camera positions in AI image generation is all about the perspective you choose for your artwork. It can draw attention to important parts of a picture, make people feel something, or even tell a story before any of the image’s details come to life. Think about what you want the person to feel or experience when you write your questions.
With just a small change in your prompt to specify a certain angle or distance, you can create vastly different results. A low-angle shot, for example, can make a subject look bigger than life, while a high angle shot can make it look weak.
Developing Prompts
To develop effective camera positioning prompts, it is necessary to have an understanding of the subject, the scene, and the desired result. Here are a few suggestions to assist you in the creation of camera positioning prompts:
- Understand the Scene and Subject
Identify Key Elements: Identify the scene’s most significant components. This could refer to an individual, an object, or a particular action. - Consider the Environment: Consider the lighting, the background, and any possible obstacles.
- Establish the Desired Result
Purpose of the Shot: Are you looking for a dramatic impression, a clear instructive viewpoint, or an aesthetic composition? - Audience Perspective: Consider how you want the audience to view the scene. Should they experience a sense of immersion, separation, or focus on a specific aspect?
- Technical Considerations
Camera Angles: Try out different angles, like eye-level, high-angle, low-angle, and bird’s-eye view, to see which one best portrays your message.
Stability and Movement: Choose whether the camera should be static or moving. For moving shots, consider using instruments like tripods or sliders for smooth motion. - Prompt Examples
Position the camera so that it is at eye level, 2 feet away from the subject, and focus on their facial expressions. This is the correct approach to taking a close-up photograph.
To get a wide shot, you should position the camera so that it is 10 feet away from the scene. This will allow you to capture the entire room, which will demonstrate the context and setting.
“Begin at waist height with the camera, and as the subject looks up, gradually pan the camera upwards to expose their face for a dynamic shot.” - Review and Adjust Test Shots: Try taking a few test shots to see how the scene changes when you move the camera.
Feedback: Whenever feasible, obtain feedback from others to guarantee that the camera position produces the desired outcome.
By adhering to these guidelines, it is possible to generate prompts that facilitate the optimal camera position for any given scene. Do you have a particular project in mind for which you need to implement these recommendations?
Which Camera Positions / Angles Do Exist?
Now, let’s talk about the different camera settings and angles you can use to make AI art.
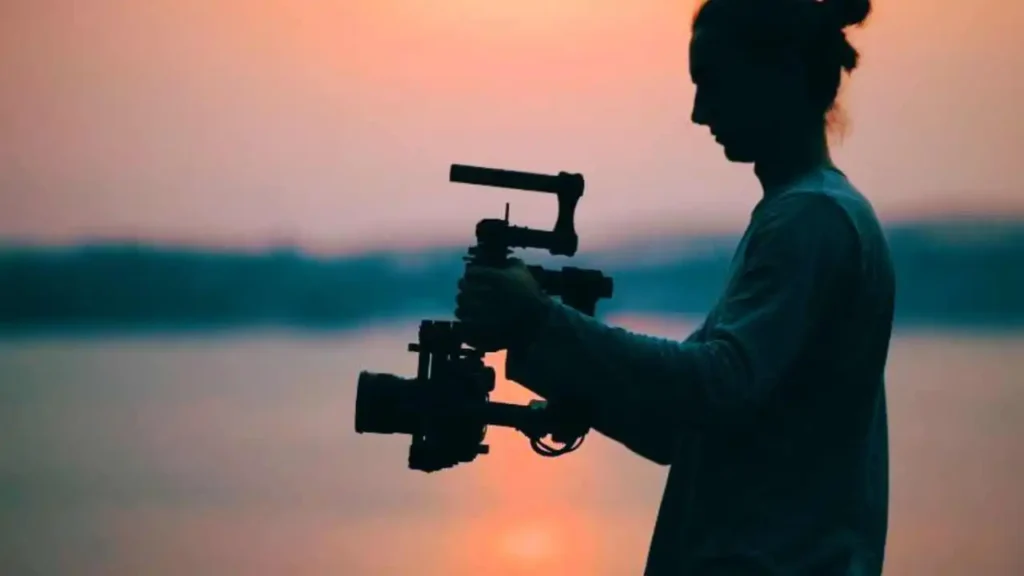
Steadicam Shot
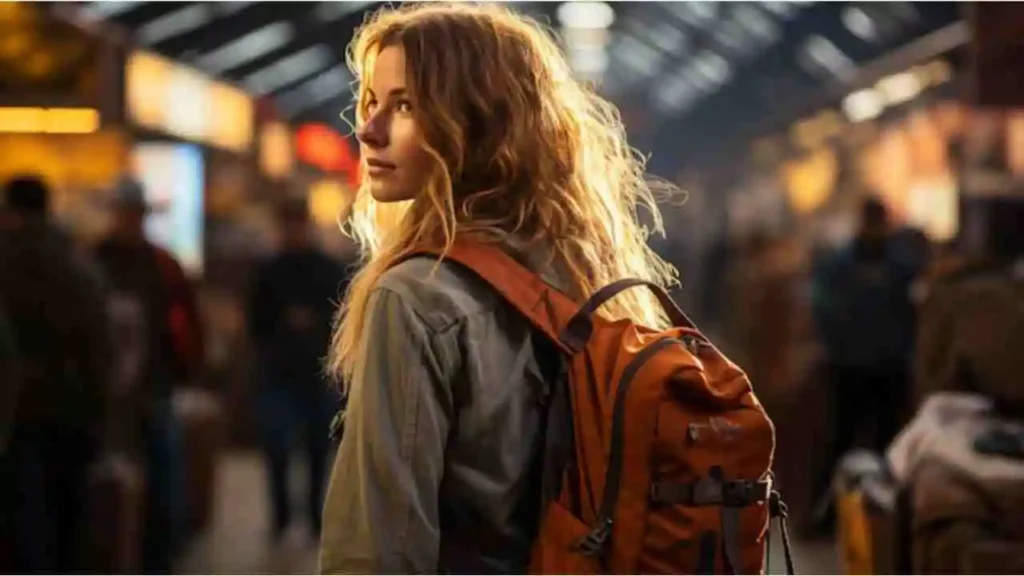
A Steadicam shot offers a smooth, flowing motion that’s often used in dynamic scenes. Imagine an AI-generated sequence that feels as though it’s gliding through a bustling market or a serene landscape. This can make your pictures come to life.
Distance from Camera Shot
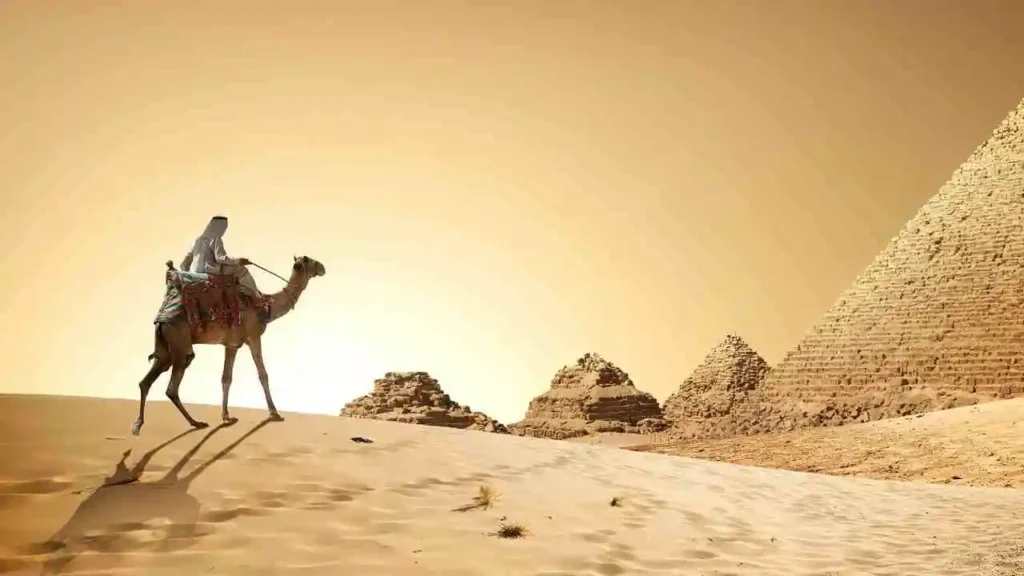
It tells you how far away the camera is from the subject. It can significantly alter the mood and focus. A shot from far away gives you background, while a shot from close up can show you specifics.
Extreme Long Shot
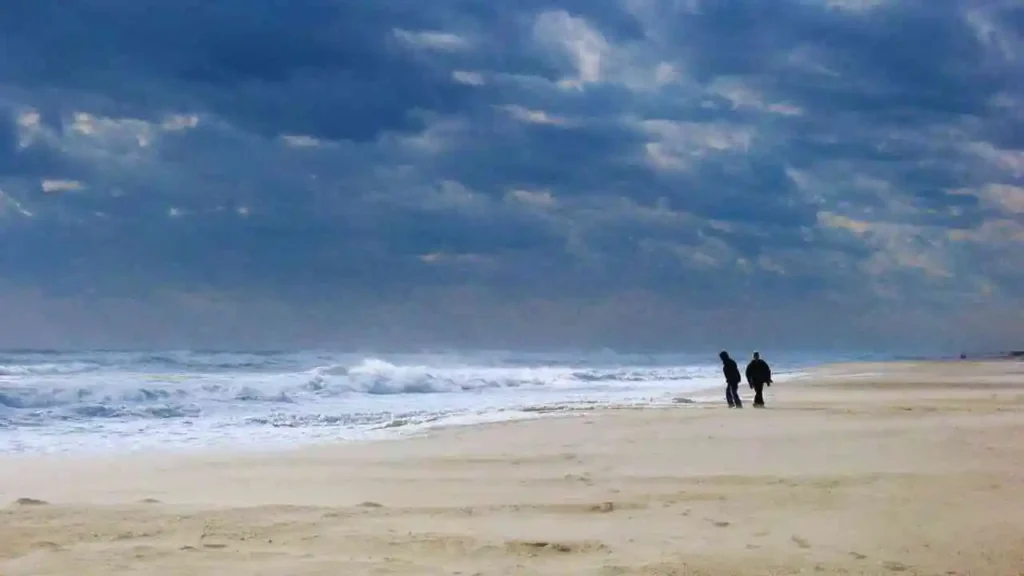
An extreme long shot captures a vast scene, often used to establish the environment where the action will take place. Think about wide-open views or busy cityscapes that make the watcher feel small.
Mid Medium Shot
Most of the time, the mid-medium shot shows a person from the waist up. It’s great for drawing attention to characters while still giving a sense of where they are.
Ground Shot
This angle gives a unique view because it puts the viewer on the same level as things or people on the ground. It can make the picture seem grand or important.
Knees up Shot
Lower than the eye but not quite a ground level, knee-level shots can create fascinating viewpoints, often emphasizing the foreground while subtly showing what’s behind.
Hip Shot
This angle gets shots of people about hip-height, which is great for showing movement in the scene, like characters walking or interacting.
Dutch Level Shot
This method tilts the horizon to generate tension or confusion. It is also called a Dutch tilt. It’s great for telling dramatic stories.
Eye Level Shot
This is the most objective shot; it gives a true picture as if the viewer were there and seeing everything for themselves. It builds a connection with the viewers.
Crane Shot
In a crane shot, the camera is lifted by a crane and can move smoothly up, down, and across sides. This image is intended to capture dramatic viewpoints or create movement in a scene. Crane shots are widely used for action, establishing, and dynamic camera movement. Bird’s-eye views from lofty cameras add depth and scale to visual narratives.
Dolly shot
A camera dolly shot is taken with a wheeled platform or dolly that slides along tracks. This enables smooth, controlled camera movements toward, away from, or alongside the subject. Dolly shots are used to convey motion, track a character, or provide new information. A dolly shot’s seamless glide can assist tell a story and engage the audience.
High-angle
A high-angle photograph is shot from above, looking down. This viewpoint may make the person appear smaller, weaker, or more vulnerable, communicating power or fear in the narrative. High-angle images help set the scene by giving viewers more.
Low angle
A low-angle photograph is taken from below the subject, looking upward. This perspective can sometimes make the topic appear more strong, imposing, or heroic. In dramatic or action-packed moments, it could portray awe, power, or grandeur. Low-angle shots highlight a character’s importance in the narrative.
Aerial View
Aerial photographs are captured by drones, helicopters, or other aircraft. A bird’s-eye view of the surroundings or scene provides a broad perspective. Aerial views are frequently used in establishing shots to convey the scope and context of the story. They also enhance cinematic effects and drama.
Full Shot
Full images show the entire body, from head to toe. These pictures focus on the figure’s relationship to their surroundings, often allowing for interaction. Full shots that show the character and their motions help with body language and movement scenarios.
Cowboy Shot
Cowboy shots in Western films are used to highlight a character’s firearms and holsters. This image is commonly used in cowboy films, but it may also be used in current filmmaking to portray a character’s posture and attitude, with emphasis on their face and upper body. The cowboy photo strikes a mix of close-up intimacy and environmental backdrop.
Tilt-Shift
A tilt-shift photograph uses a unique lens to adjust focus and perspective. The small effect gives real-life scenes the appearance of miniatures or toys. Tilt-shift images are popular among photographers and filmmakers because of their odd, dreamy qualities.
Soft focus
A soft focus technique blurs an image to give a dreamy or romantic effect. This approach is designed to flatter subjects, conceal faults, or evoke nostalgia or fantasy. Soft focus is used in portrait photography, romantic film sequences, and ads to provide a delicate touch.
Split Diopter
A split diopter shot uses an original lens to sharpen two image planes at varying distances from the camera. This style accentuates multiple parts in a scene, increasing depth and complexity. Split diopter shots are utilized in suspenseful or dramatic scenes to emphasize the foreground and background.
Midjourney Prompts for Camera Angles
Close-up Shot
A close-up shot can show raw feelings and details that the viewer might miss, making it easier for them to connect with your subjects.
Close-ups focus on facial expressions, emotions, and small things. The camera distance conveys proximity, feeling, or key aspects of a scene. Close-ups draw attention to the subject, making them an effective storytelling tool since they allow viewers to engage with the characters or objects.
Extreme close-up Shot
Extreme close-ups highlight a single detail, such as a person’s eye, an object, or a face. This graphic emphasizes narratively relevant parts or details. Extreme close-ups can heighten tension or highlight important information in a situation.
Low Angle Shot
A low angle emphasizes height and dominance, making the subject appear powerful or imposing. It’s great for making brave images or making a dramatic effect stronger.
Extreme Low Angle Shot
Taking this idea further, an extremely low angle showcases an even more dramatic effect, often dwarfing everything else in the image.
Long Shot Camera Angle
Long shots are excellent for giving context and showcasing the environment and the action within that space.
Camera Positions and Distances, Emotional Matrix
Camera Shot Focus: The focus of the shot can have a huge effect on how the viewer feels about the picture.
Shallow Focus: This method emphasizes the subject while softly blurring the background. It draws attention to a certain feature, making the viewer feel close.
Tilt Shift: This style can make miniaturized images that make real life look like a toy world. It sounds silly and can make you feel nostalgic.
Deep Focus: Deep focus, on the other hand, makes everything sharp, from the center to the background. It gives the impression that different things are linked.
AI IMAGE GENERATOR
The term “artificial intelligence image generator” refers to a piece of software that can take text inputs or other data and utilize machine learning models to generate images. Art, design, marketing, and other fields might benefit from these generators because they can create realistic or styled images. They can create fresh, unique images that fit the input criteria by recognizing patterns in massive picture and text collections.
Read more about AI Image Generator here: How AI Image Generators Are Transforming Creativity and Design
AI ART GENERATOR
There are a lot of AI art generators out there now, and each one can turn your prompts into images in a different way. As you play around with these tools, try putting them together from different camera angles and places to get creative results.
The great thing about AI picture generation is that it can be explored. So, remember to try different camera positions the next time you go on an artistic trip.
Common Mistakes in Camera Positioning
1. Ignoring the Rule of Thirds:
Mistake: Centering the subject in the frame.
Solution: Use the rule of thirds to achieve a more balanced and visually pleasing composition by positioning the subject along the grid lines or at their intersections.
2. Poor lighting:
Mistake: Ignoring lighting, resulting in underexposed or overexposed photos.
Solution: Use natural light, reflectors, or artificial lights to properly highlight the subject.
3. Unstable shots:
Mistake: Shaky, unsteady handheld shots.
Solution: To maintain camera stability, use a tripod, gimbal, or other stabilizing equipment.
4. Incorrect focus:
Mistake: The background is sharp, but the subject is out of focus.
Solution: Make sure the subject is clear and sharp by adjusting the focus by hand.
5. Ignore Background Clutter:
Mistake: Not focusing on the background, which created aspects that were distracting.
Solution: Use a clean, clutter-free background or change the camera angle to reduce distractions.
6. Wrong angle:
Mistake: Choosing an angle that does not complement the subject or scene.
Solution: Experiment with several angles to see which is most pleasing and successful for your subject.
7. Improper framing:
Mistake: Excluding crucial aspects of the subject or leaving too much blank space.
Solution: Frame the photo to accommodate all relevant objects while minimizing free space.
8. Ignore the Horizon Line:
Mistake: A tilted horizon line makes the shot appear unbalanced.
Solution: To ensure a balanced composition, keep the horizon line level.
9. Overuse Zoom:
Mistake: Relying excessively on digital zoom, which can degrade image quality.
Solution: Physically get closer to the topic or utilize optical zoom if available.
10. Ignoring the movement:
Mistake: Incorrectly capturing the subject’s or camera’s motion, resulting in blurred images.
Solution: To get sharp shots of subjects in motion, use the right shutter speeds and stabilizing methods.
If you avoid these usual mistakes, your shots will be much better.
Conclusion
Now that you know what we’ve talked about, you can start to look into the fascinating world of AI picture generation by changing where the cameras are. Dive into your artistic process and have fun experimenting. Feel free to share your work, and let’s celebrate the art of storytelling that grows in this fun medium!
