Kinemaster is one of the best video editing tools for which many YouTubers, use this tool for making videos or professional videos from Android/iPhone/pc, etc. You can also say this is a professional video editing app.
Hello Friends, Do you also want to create videos, or edit videos easily from your phone itself? Are you looking for a professional video editing tool for free? If Yes, then Kinemaster is the best tool for video editing.
Let’s suppose you have shot a video but want to make changes or add something. But you are stuck somewhere in editing and don’t have extra money to hire a professional video editor.
Then don’t need to worry about that, we are here to help you out wherever you are stuck. It is a very simple and easiest way to edit your videos completely free of cost.
Also Read: Scope Of Media Industry In 2022 | Media & Entertainment Industry In India
KineMaster video editor is a feature-rich, user-friendly video editing application. Its drag-and-drop functions allow mobile video editing and the addition of media.
Step-by-Step Guide to Use KineMaster
KineMaster is a free app with extra features that you can get by paying for a subscription. We’ll use the base version for this user guide because all of the editing tools are free in KineMaster. When you use the free version, the video you download will have a watermark on it.
We’ll be discussing the Android version of KineMaster, but it’s also available on iOS.
Also Read: Best Free Social Media Marketing Apps To Boost Your Business in 2022
1. Get your ideas and materials ready
First, think about the message you want to send and find videos that fit that message. This step is especially important for people who want to make professional videos like ads and other promotional content.
If you’re simply making quick edits to a video clip you captured on your device, it really shouldn’t take much time.
KineMaster Download Links:
KineMaster App Download Link For Android
KineMaster App Download Link For iPhone
KineMaster App Download Link For PC
2. Start KineMaster and make a new project
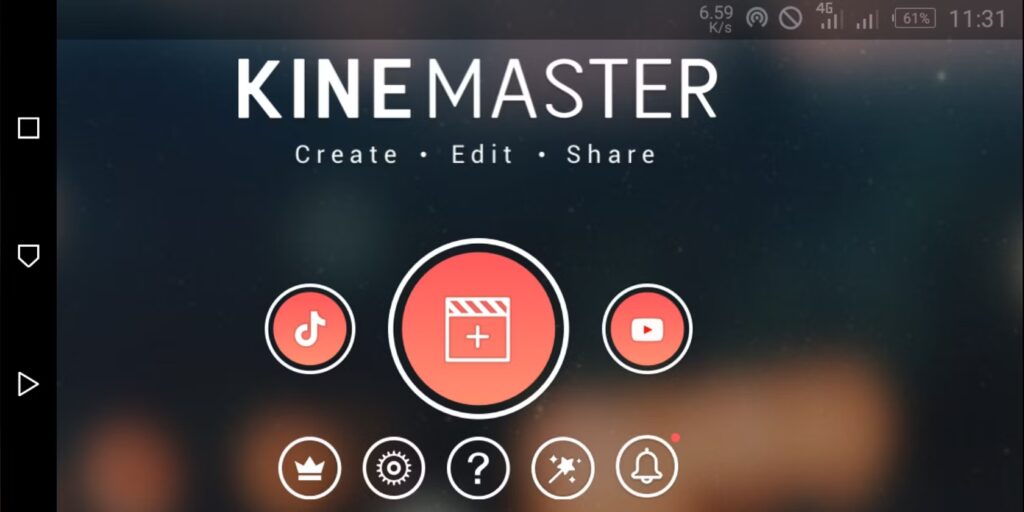
Launch the app once you’ve downloaded it to your phone. When you first open KineMaster, you’ll see a landing page that gives you the option to start a new project or keep working on an old one.
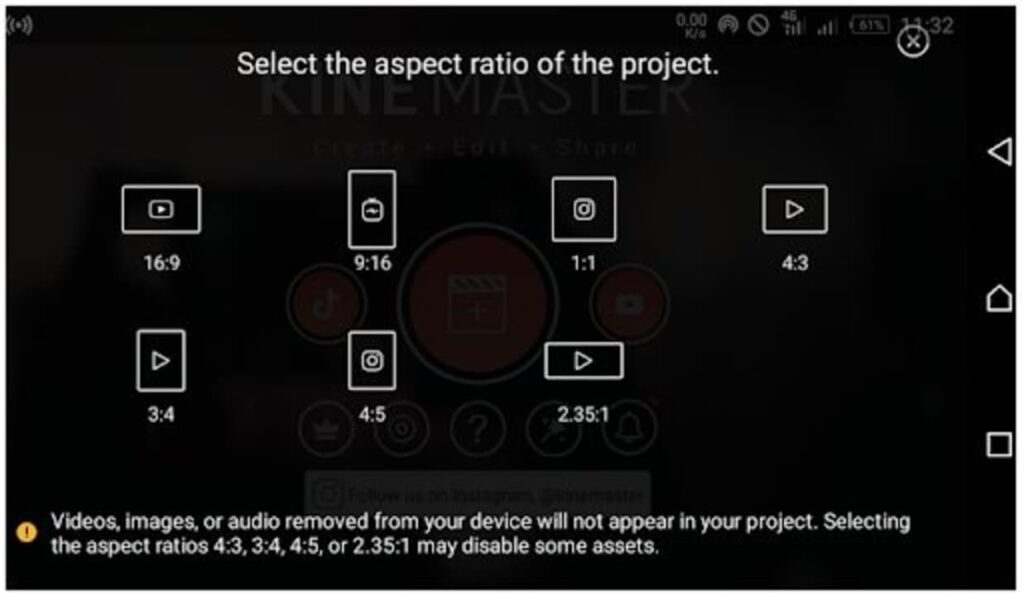
To start a new project, tap the plus sign in the middle button, which says “Create new project,” and choose an aspect ratio for your video.
Also Read: Reddit’s Free Giveaway 2022: Free NFTs | Here’s How To Claim Giveaway
How you choose the aspect ratio depends a lot on where you want to post the video. For example, 16:9 works for YouTube, but 9:16 works best for Instagram. You can use 1:1 for screens that aren’t as big.
Next, tap on Media to open the section for the Media Browser. This is full of folders with pictures and videos in them.
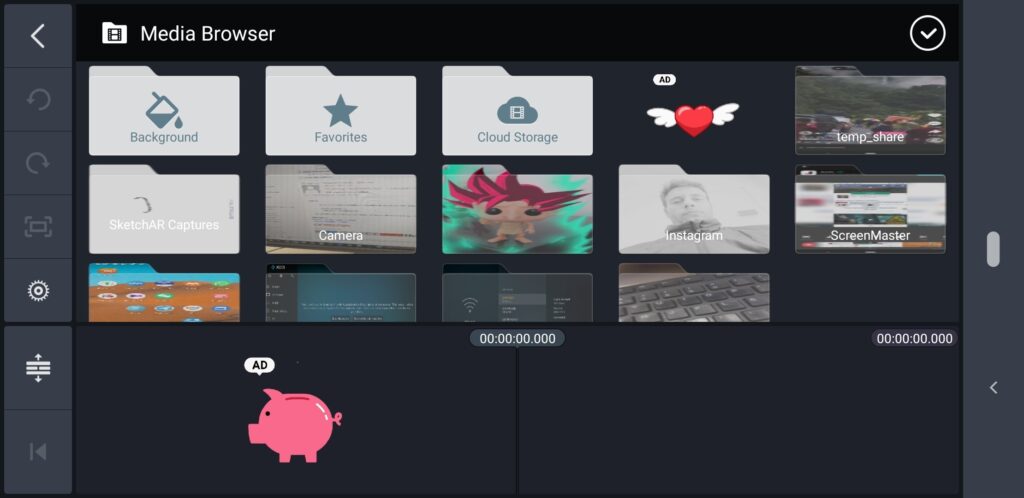
Select the video clip you want to work on, and it will be import into the project window. Then, click the checkmark in the upper right corner to save the video clip. Repeat this step if you want to add more video clips.
3. Trim Your Video
When you select the video clip you wish to trim, the border will show up in light yellow and you can cut it. To open multiple trimming options in the same location, tap the scissors icon (Trim/Split menu) in the top right corner of the screen.
Four alternatives become available for selection: Trim to the Playhead’s Right, Trim to the Playhead’s Left, Split at the Playhead, and Split & Insert Freeze Frame.
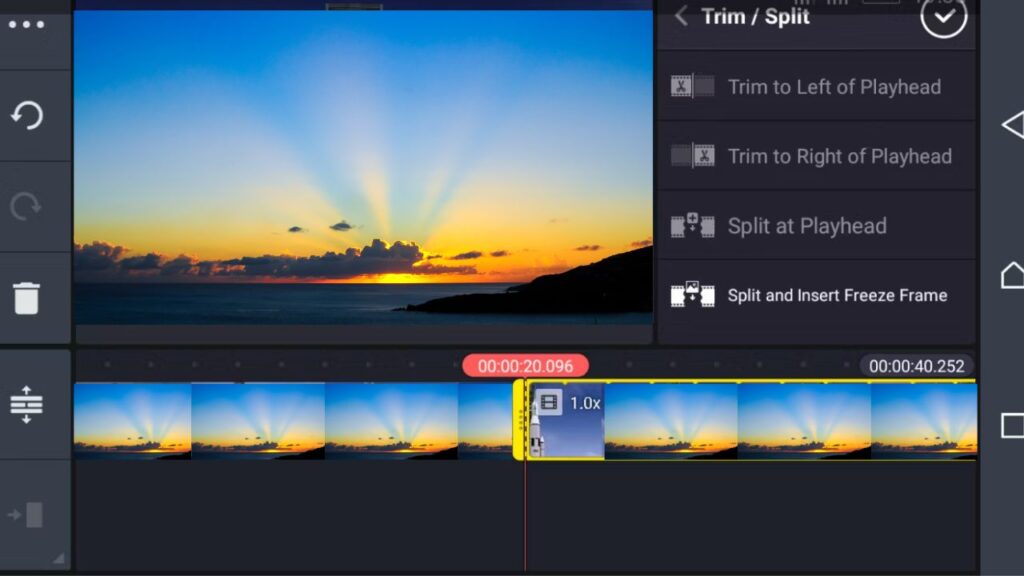
Select Trim to Right of Playhead to limit the clip to simply the video that comes after the current location. The length of the cut video will be reduced as a result.
Using the Trim to Left of Playhead option, you may additionally specify that the clip only contain material that comes before the current position. Use the Split at Playhead button to split a video clip in half.
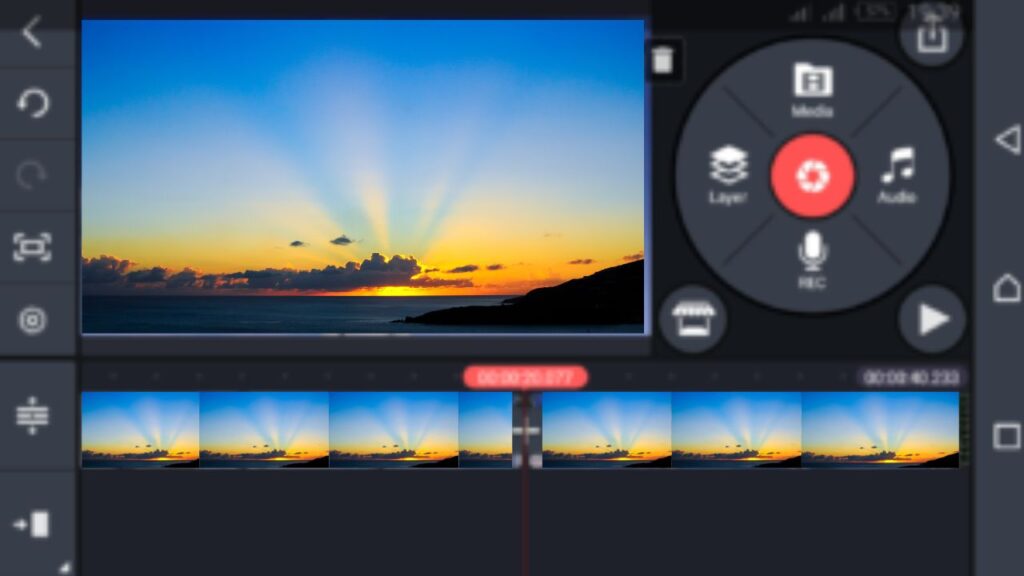
Press the play button to watch the video while you edit to see your progress. Tap the checkbox to save the results if you’re happy with them.
4. Add/Include Video Transitions
Select the video between which you wish to apply transitions. Each video clip has a Plus (+) sign next to it. Tap on Plus to add transitions; a variety of alternatives will then show up on the right.
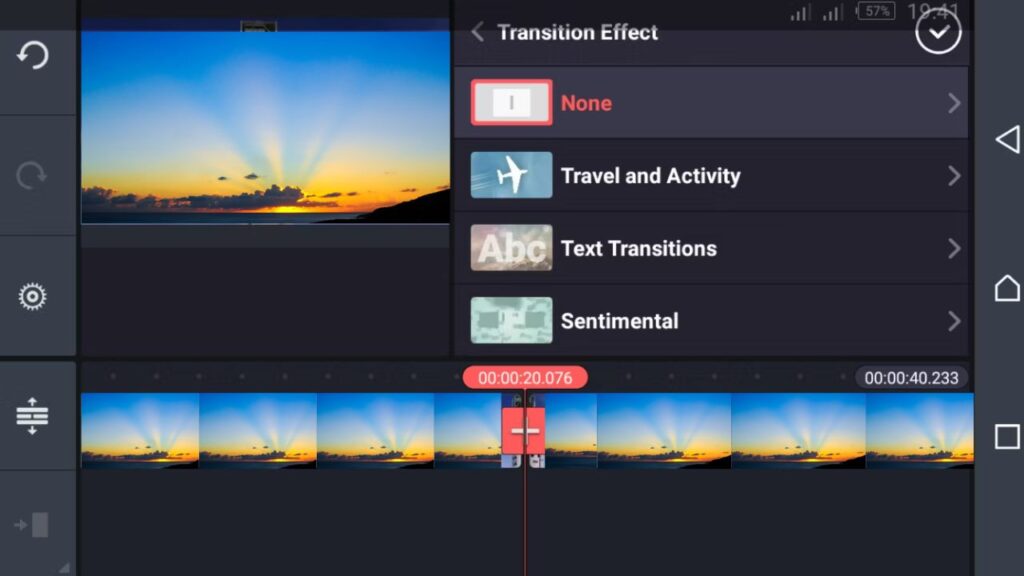
Traditional transitions, 3D transitions, picture-in-picture transitions, text transitions, and other alternatives are available for you to choose from.
To preserve your selection after making it, hit the checkmark in the upper section. We chose Classic Transitions > Crossfade for this example.
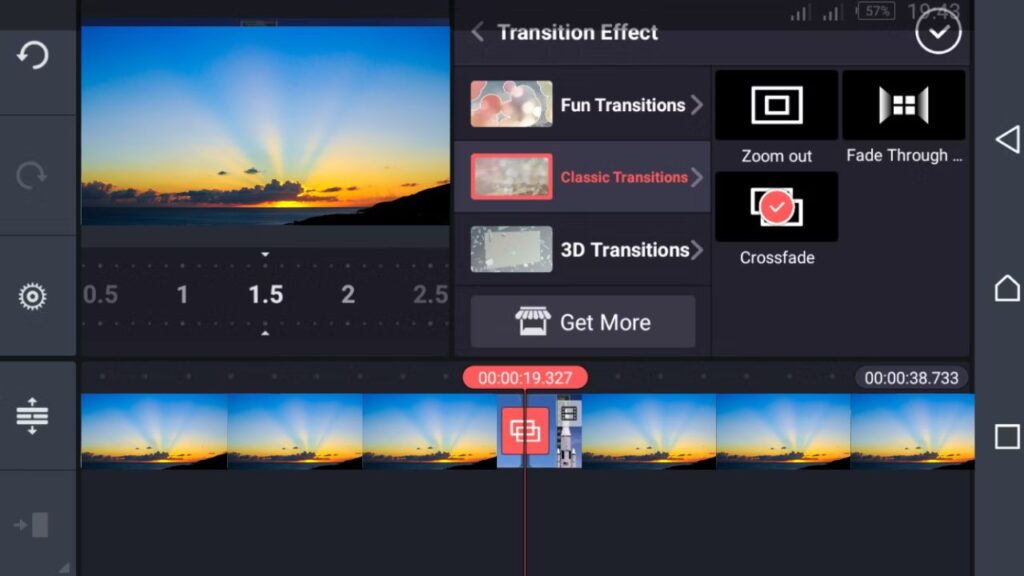
Move the slider to the transition’s location, then press the play button to see a preview of the transitions.
5. Adding text to Your video
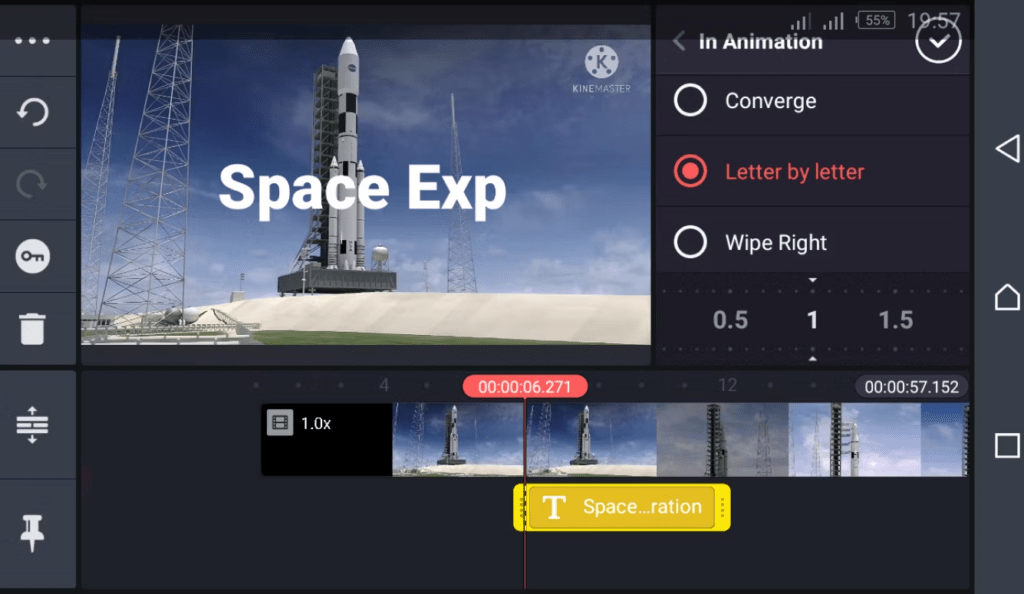
To add text to your videos, click on the Layer icon, which will bring up a window with options. Choose Text from the options.
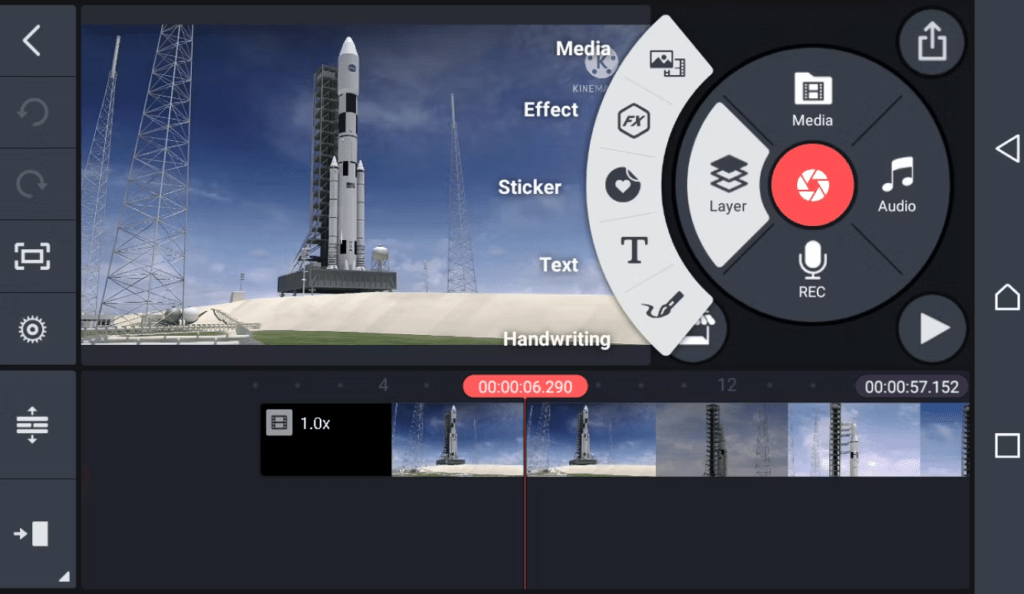
Write your text and press OK to put some small text all over the video. Tap and drag the text to change how big it is.
Tap the Aa icon on the right to choose a font that fits the style of your video. Then, click the checkmark in the upper right corner to save your changes. You can also change the color, shadow, background, and add animation effects to your text.
You can add a lot of interesting animation effects to your text. We used In Animation > Letter by letter for this lesson.
6. Adding Background Music To Your Video
If you want to add music to your video, move the vertical red line on the project sheet to the position where the music should start playing.
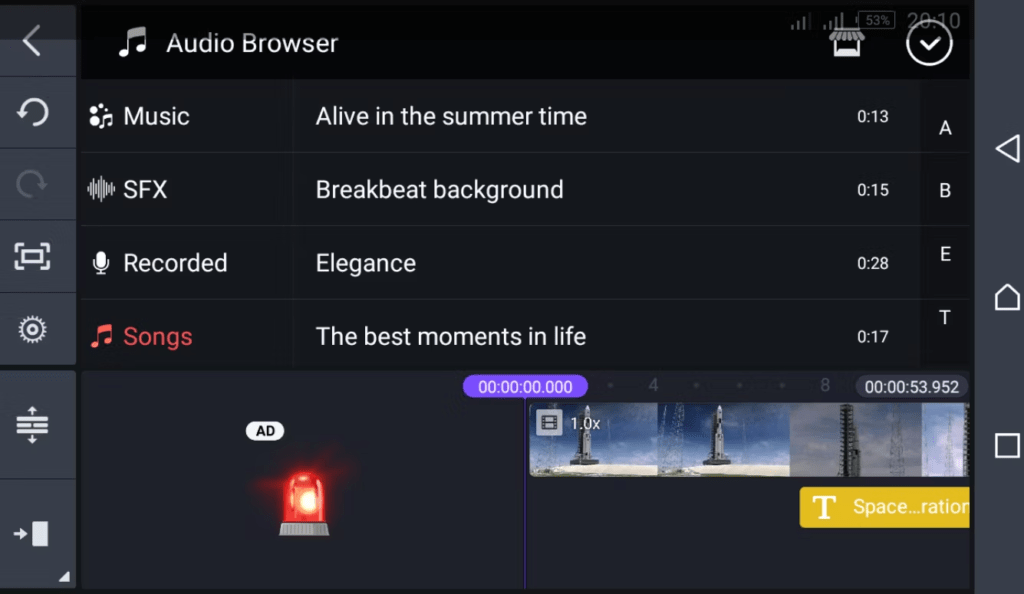
Then, click the Audio icon on the main tool menu and choose music from your phone that goes with the scene. You can also use KineMaster’s Audio Browser to bring in tracks.
For more choices, look through sites that let you download free music to find legal downloads you can use in your video.
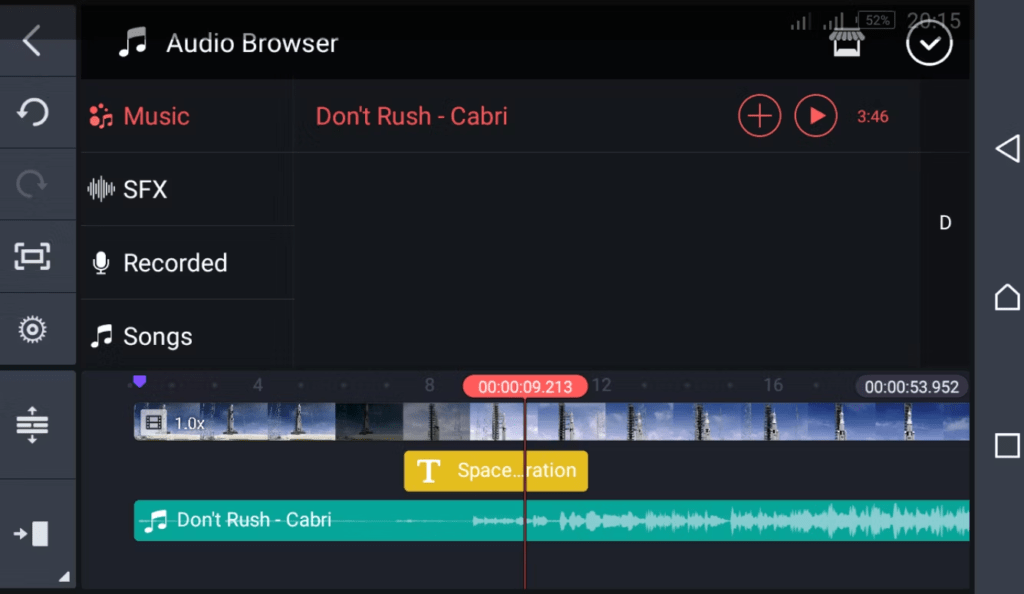
Tap the red plus sign that shows up after you choose the music. This will add the music to the project and start playing your audio.
If you’re sure you want that song, tap the red plus sign. The song’s name will show up in the lower section.
7. Export Your Video Clip From KineMaster
Tap the export icon in the top-right corner when you’re done making changes and happy with the final product. You can export the video at the recommended quality or change the resolution, frame rate, and bitrate as needed.
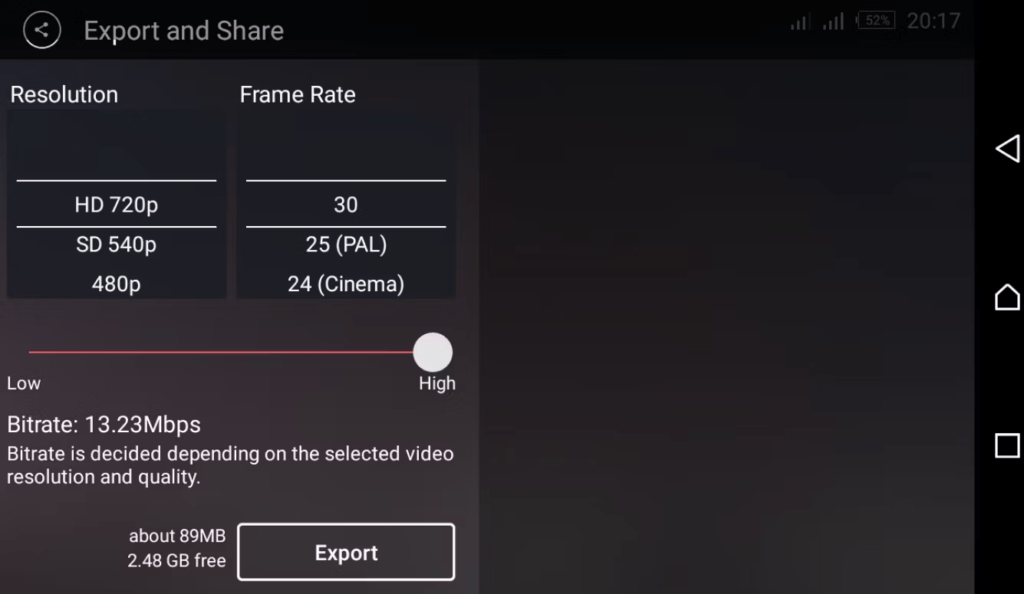
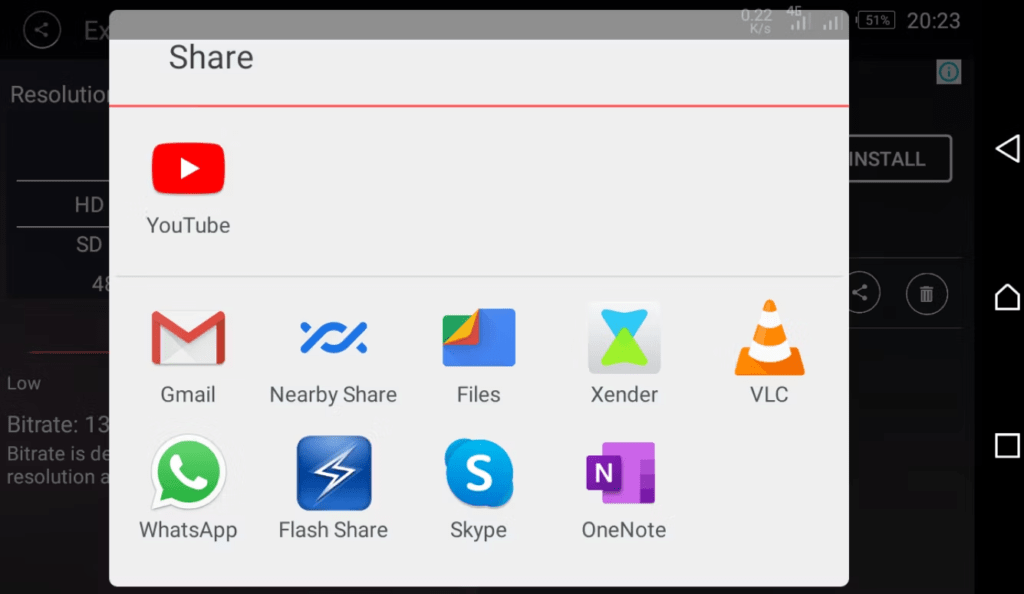
On the right, you’ll see the video you exported. Tap the share icon to send it to YouTube, Facebook, Twitter, or any other app on your Android phone.
Conclusion
You can Use KineMaster to quickly Edit videos. KineMaster is one of the best apps for Android and iPhone for editing videos. With this app, you can edit videos in a few easy steps to make them look like they were made by a pro. With its easy-to-use interface and powerful features, anyone can make a video look better, even if they have never done it before.
Also, editing videos is just one of the creative things you can do with your phone.
Hope this Article will be able to help you wherever you stuck. And after using this, What do you think about the KineMaster app? Or If you have any other video editing app, then comment below.
